Our Process

Custom Tool Kitting :: Onsite Tool Kitting Solutions

Our Process

We Care for our Work!

Our team strives to achieve excellence in every aspect of the production process, from the preliminary imaging to the aftersales support.

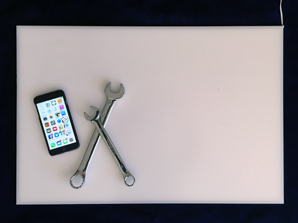
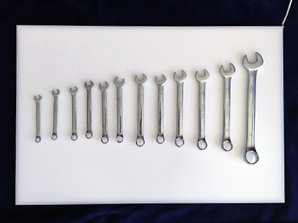
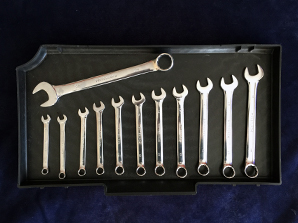
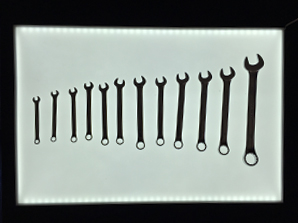
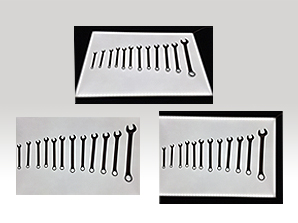
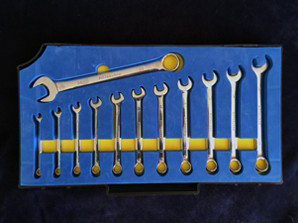
We carefully design our tool liners to be easy and flexible and focus on using the latest 5S tool standards and practices

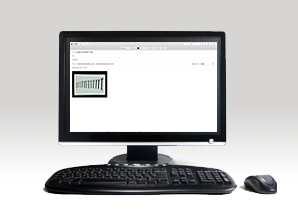
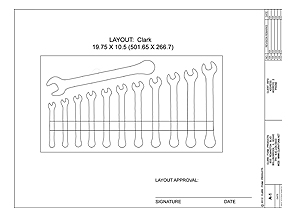
No matter how difficult or intricate the tool or component might be, you can be confident in achieving an exact drawing. Create hundreds of complete CAD files for a variety of objects in minutes instead of days.

Onsite Industrial Kitting Solutions

Complete Solution … at your worksite.

Kitting for tools or components trays, customized to fit any tool chest, cabinet or shelving unit.

Your foam insets will snugly hold your tools to prevent movement or damage

When it comes to Tool Kitting ... put yourself in contol

This on-site imaging process allows you to control the schedule and pace of your kitting process, tools never leave your facility. Simple imaging process, One, two three and you are done!

Foam Choices

Our kitting foam is a cross-linked polyethylene which is thermally bonded.

This foam is nonabrasive and Resistant of stains, tears, most chemicals.

Setting up the LED panel

PREPARE

Lets get started! Grab the light panel, tools and camera or camera phone.

PLUG IN YOUR LIGHT PANEL

Make sure the light panel is connected to its adapter and adapter to an energy source.


SET UP YOUR TOOLS

Once the LED light panel has been illuminated, set your tools on the light panel.

IMAGING

DRAWER SHOT

For reference, take a picture of your tools in the drawer arranged how your would like them laid out.

ACQUIRING AN IMAGE

Once the tools/components are in place an image can be captured. Hold the camera above the backlight so that it is perpendicular to the tool. For best results, place the backlight as low as possible allowing for a greater field of view.

Be sure the ENTIRE backlight is in view and snap you picture!

UNACCEPTABLE IMAGES

It is very important to image your tools and components properly. For best results, be sure to have the complete light panel in view and imaged as square as possible.

Above are examples of unacceptable images. Note: skewed image, complete light panel not in view, light panel cut off.

COMPLETING THE PROJECT

SUBMIT YOUR IMAGES

Email or upload your images to Clark Kitting for processing.

APROVE YOUR LAYOUT

After your images have been uploaded and processed you will be provided with a layout for your approval.

YOUR DONE!

Congratulations! Enjoy the protection an tool control your liners provide to your investment.

focus on what’s important, simple, innovative

Creating Solutions :: Custom Tool Kitting Made Easy

RECENT PROJECTSwe take pride in our work

OUR SATISFIED CLIENTS

proctor-gamblekraftbaker-hughescocacolasiemensboeingcatepillaralstom